My daughter is a primary school teacher and holds a Master of Arts Degree in History. I thought that it would be a jolly wheeze if I was to attempt to create a quiz app that might be useful to her endeavours, or at least amuse her. It would also give me an idea for a project – sometimes as an app developer, finding an idea for a project is the most difficult thing. I made it and although it wasn’t suitable for her target audience, I am quite proud of it. There are problems with it, such as the fact that it is difficult to make out the text in front of the background illustrations (some of which are my photographs – Eilean Donan Castle and Gallos from Tintagel castle – look it up!) but it was progress.
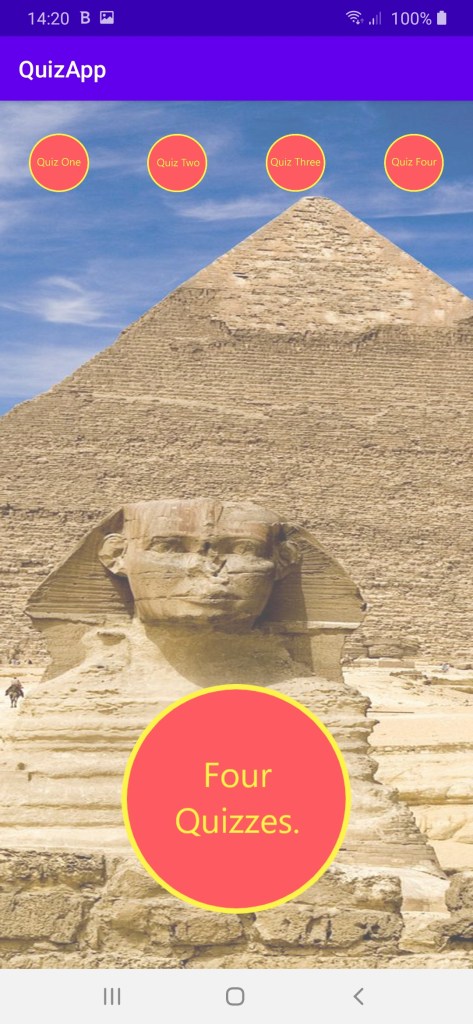
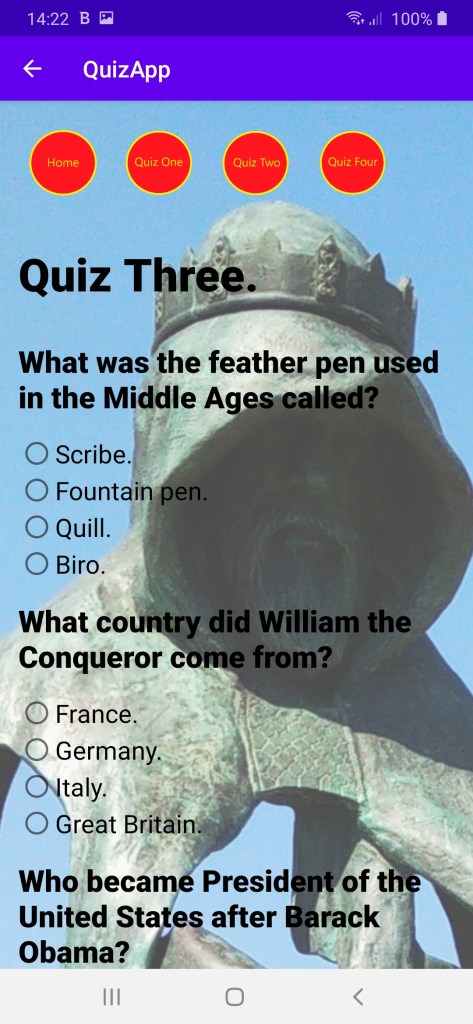
Four Quizzes in One.
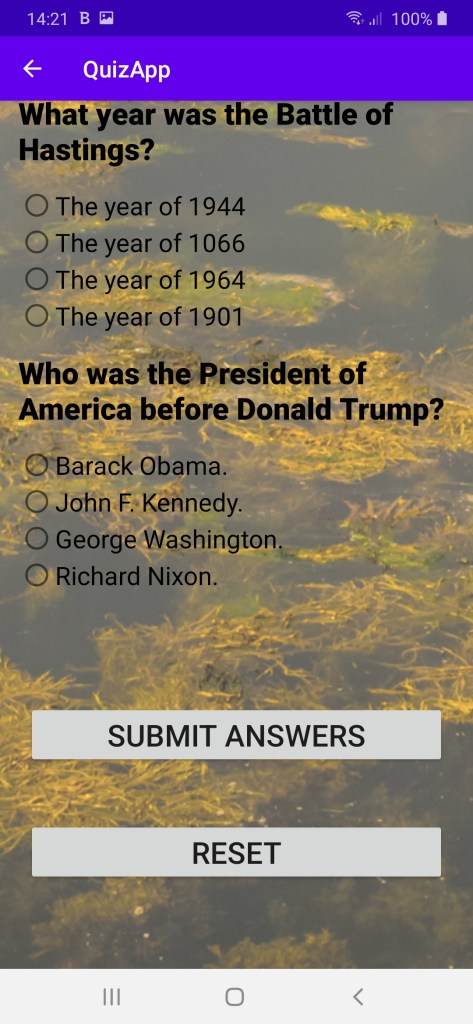
The front page and links to the other four pages.
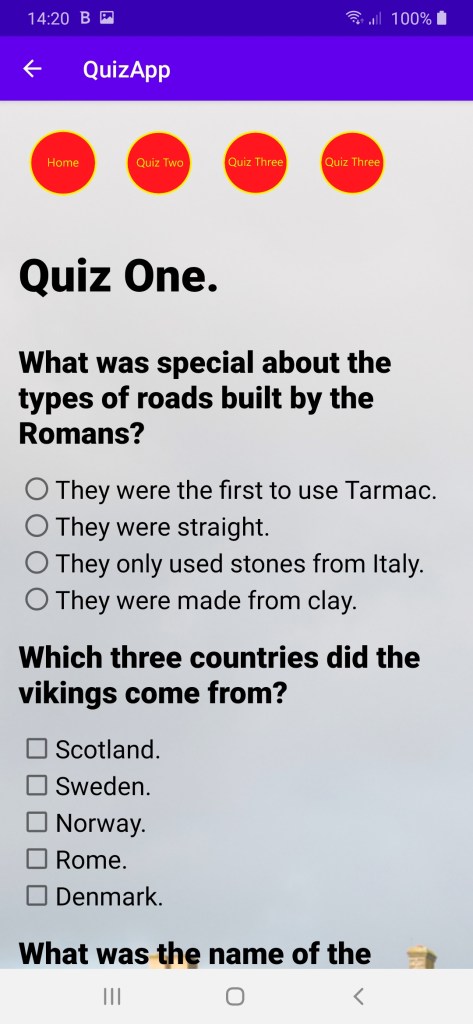
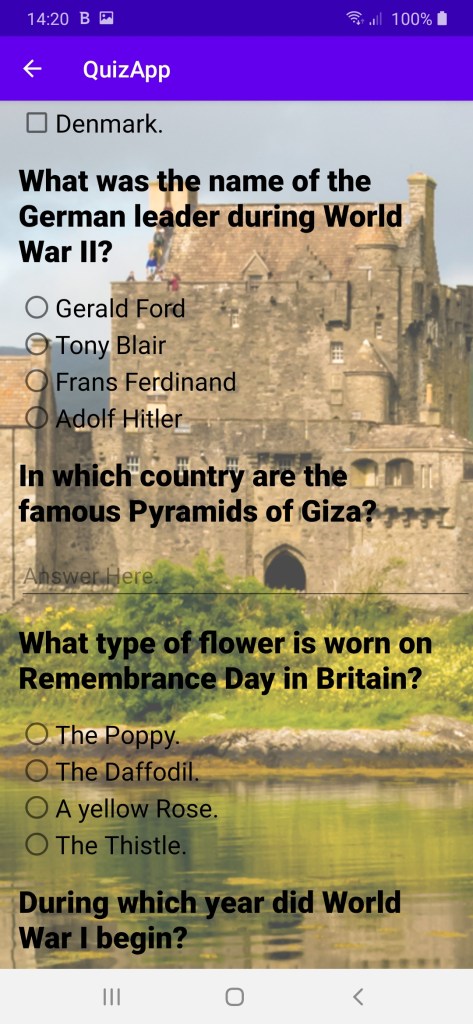
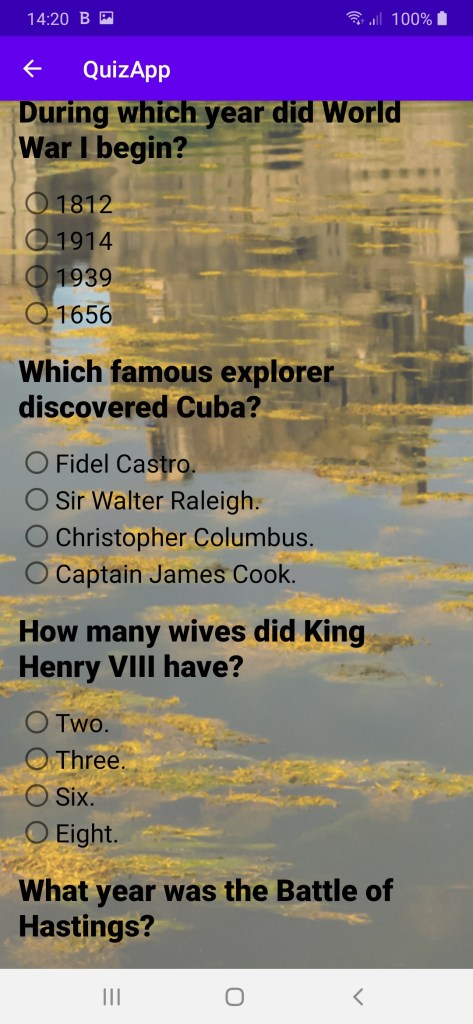
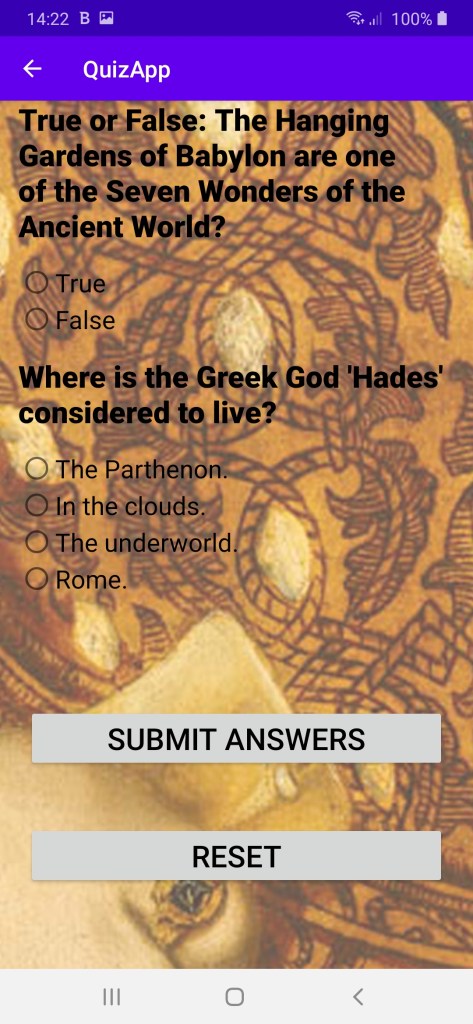
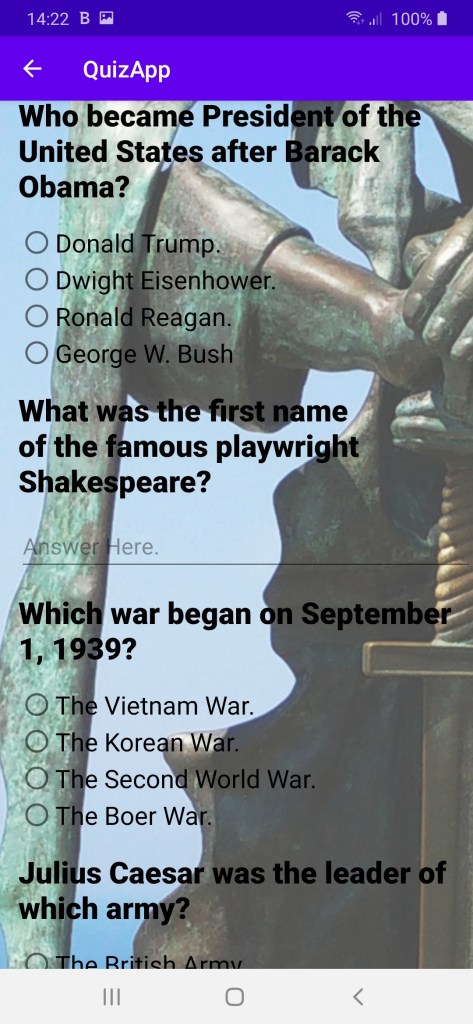
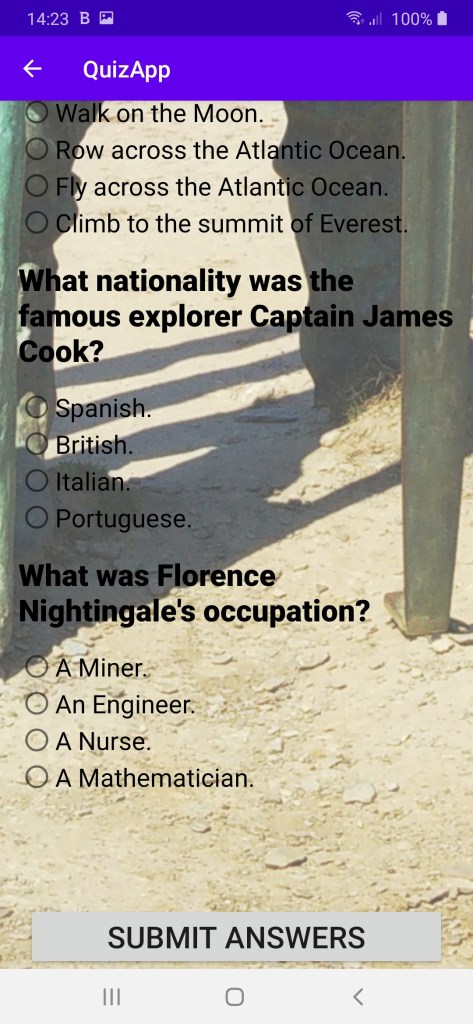
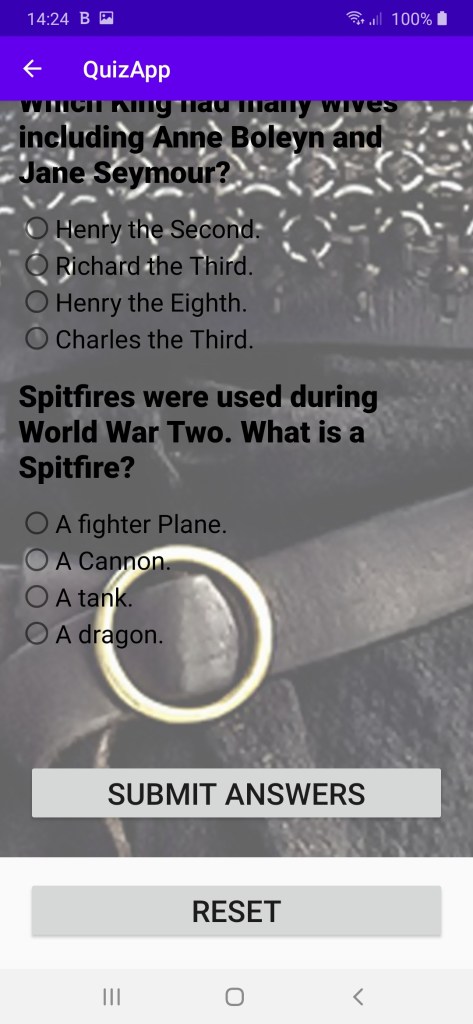
It was a first attempt at a quiz app for more than as an educational project. I had created a much less elaborate quiz as a project for my Udacity Android Basics Nanodegree; this quiz was based on the techniques that I had used then. I had created each quiz in a ScrollView – it seems to be frowned on now but I thought it appropriate at the time. The questions use a selection of radio buttons (only allows one choice), grouped check boxes (allows a pre-set number of choices) and each quiz has an edit text (user text input). When the user presses ‘Submit Answers’ it tells them how many points out of a maximum score and if they achieve a perfect score, it displays another message which tells them that they scored a maximum ” ” points (it varies between the quizzes). Finally, each individual quiz can be reset by pressing – you guessed it , the ‘Reset’ button. What’s not to like?
This was the final project that I studied for and created on my Android Basics Nanodegree by Google and it was to be done in two parts. In the first part we were to focus on what happens behind the scenes – designing and implementing a simple database using SQLite; creating a table and then populating that table with new entries, modifying the entries and displaying the contents of the table to users. The practice app that we used in preparation for our project was an app to track pets in an animal centre in which we had to create a list of existing pets, and let the users add and edit the pets – names, weights, breed and so on. During the second part, the practice part was to build a user interface so that we could manipulate the database more easily.
The final project was to create our own Inventory app that would allow a store to keep track of it’s inventory. The brief was to:-
Be able to store information on a SQLite database
Integrate Android’s file system into that database
Present information from files and SQLite databases to users.
Be able to update information based on user input.
And create intents to other apps using stored information.
This is what the front page of the app looks like when the database is empty.
When the database is empty there is a message on the front of the app encouraging users to enter products into the database. On clicking the “kebab” menu in the top right hand corner there is an option to add sample data for testing but the usual way to add data to the database is to click on the green button on the bottom right of the page which takes you to:-
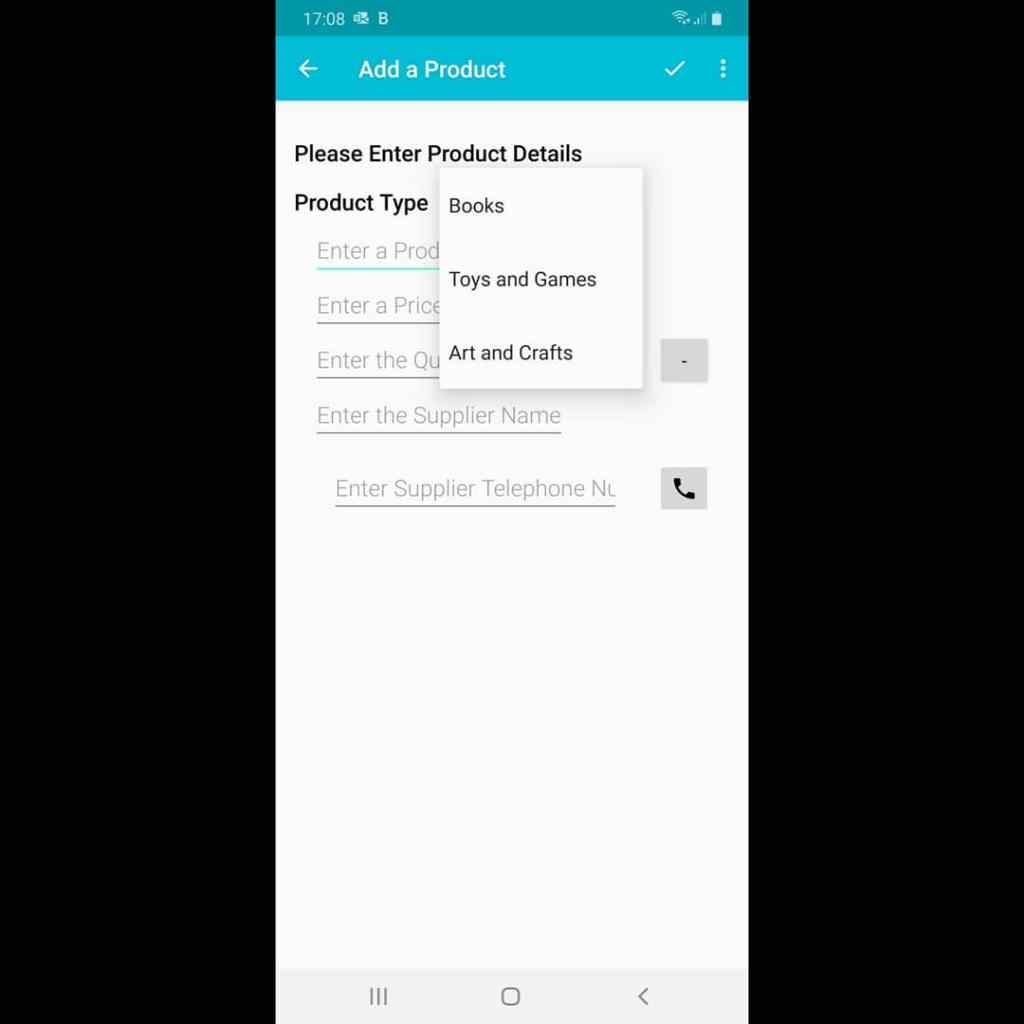
The “Add a product” page.
On the “Add a Product” page you can add relevant data about your product. On this page you can enter the product name, price, quantity with the additional function of making small adjustments with “+” and “-” buttons, the supplier name and the supplier telephone number which links via an intent to the telephoning intent. The app is based on the idea of a book, stationery and toy shop so there is a drop down list to select whether the product is a Book, a toy or a stationery item.
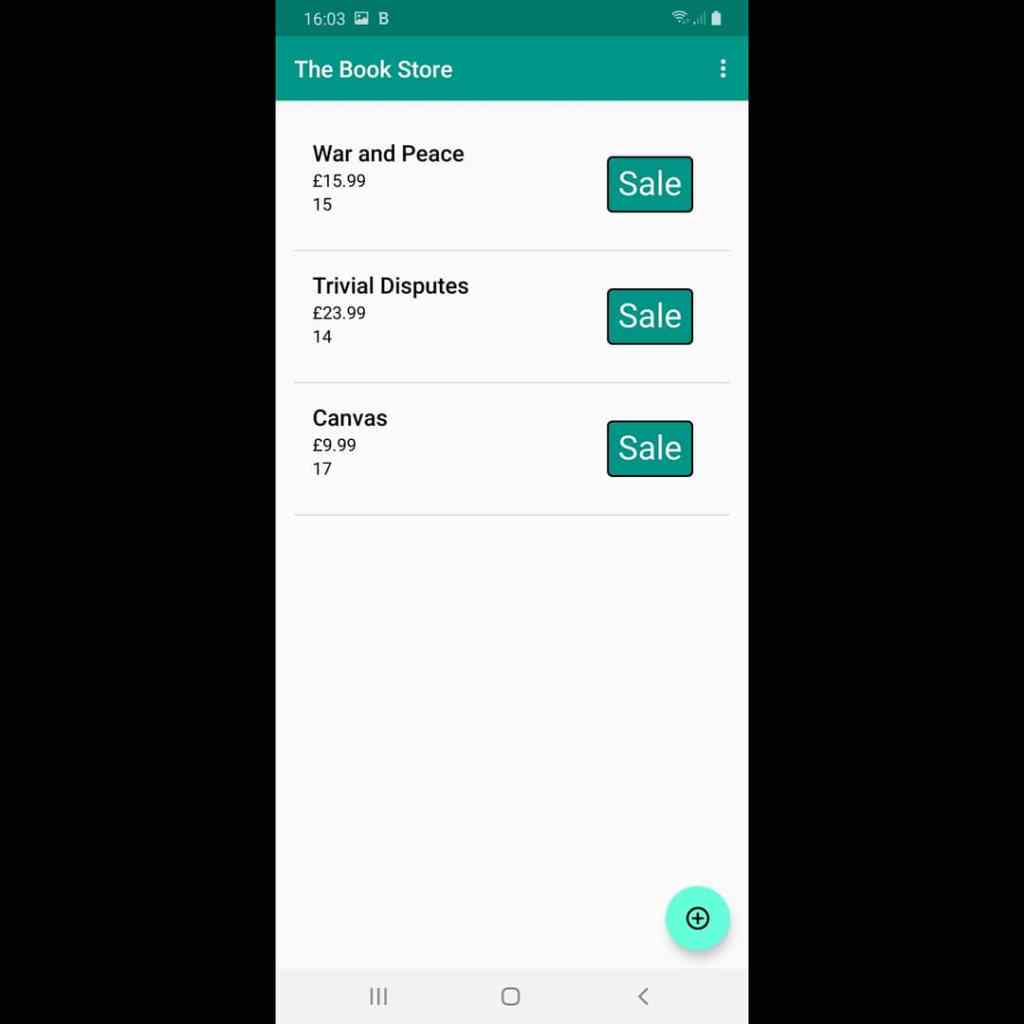
This is what the front page of the app looks like when the database is populated:-
The front page of the app when populated.
The type in bold shows the product name, below that is the price and below that is the number in stock. A sale is recorded by pressing the “Sale” button on the relevant item which reduces the stock number by one. If you click on the product instead, you can edit the details of the product in the case of inaccurate description, price or stock level. The “kebab” menu also allows a menu option to clear the whole database of entries. It was decided that we should only create a simple user interface because the emphasis was to create a usable database but I am sure that this app could be “prettied” and expanded to make it into of commercial value without much change to how it operates.
After I had submitted this project and tied up a few loose ends like making sure that I had been communicative enough on the Slack channels and Udacity blogs – they, quite rightly, put a lot of emphasis on community and communication – it had to wait for the verdict on my last project before graduation. We were also strongly encouraged to build our networks on LinkedIn and Facebook. I had been in LinkedIn and Facebook for some time before but my followers and the amount of people that I follow grew quite a bit as a result of this experience. I am a member of Udacity Graduate Alumni groups on LinkedIn, Facebook and Slack and it is useful to have people with a shared experience to converse with, support and receive support from.
The next stage of my journey with Udacity involved creating an application which takes a JSON feed from an Application Programming Interface (API) and use selective parts of the JSON feed to display news on the app. We used the freely available U.S. Geological survey website API to build an app called “Quake app” which told us where in the world there was an earth quake and of what magnitude – we then created various filters like only show quakes above 5.0 on the Richter Magnitude scale. This was all with code fed to us by Udacity. We then took quake app and used it to create an app for displaying news. We were to:-
Search the internet for available APIs from official news sources.
Obtain an API key if necessary.
Using the quake app as a template, create our news app.
I found the API of the Guardian Newspaper and obtained an API key (a digital key to show that I was authorised to access the API which gets appended to the Uniform Resource Locator (URL) of the API) I had to create an account with the Guardian so that I could apply for an API key. If I had been a company applying for a key, I would have had to pay but because I am a lone developer they allowed me access for free. I have just renewed the key – I think that the original term was for 3 years. I initially created an app which displayed the top news stories in all of their categories.
Like so…….
The News App – Part 2
The next part of the creation of the News App was to create filters so that the user could choose to view the ten most recent headlines across all categories, the ten most recent headlines across Politics, Business, Environment or Sport:-
The settings to allow this are accessed by clicking the “kebab” menu, that is the three vertical dots in the top right hand corner of the news page. The second picture shows the menus and there are two things to choose:-
Latest or Relevance (to the category chosen).
All news or a single category as illustrated in the subsequent pictures.
The headlines are shown in real time if you chose “Most Recent” for the chosen category and if you click on the headline you are then taken to the full story on the Guardian Website so that you can read it.
Finally, I gave it the name “Here is the News” and created an Icon to make it stand out from other apps on my device. I up-loaded the code to my GitHub repository where it remains together with the code from my other apps – including the ones that I have not told you about yet! There’s more to come!
We had started to create multi-page apps and now to build on that we were tasked with building a Tour Guide app. The brief was to make our own multi-screen Android app to share our knowledge about a city that we knew well. It was to include top attractions, restaurants, public places or events for the city. We were shown how to create proper data structures to store lists of information and then build layouts to display those lists of data. We were to navigate through those lists in Fragments using a ViewPager or Navigation Drawer; creating out own custom classes to do so and properly handling images and/or audio if applicable.
I chose to base my Tour App on the City of Nottingham and I included places to stay – mostly hotels, places to eat – restaurants and takeaways, places to explore like Theatres and castles, and finally, a section on Museums. Each item on each of the lists when clicked takes you to the venue’s website and navigating between lists is as easy as a swipe left or right.
Creation of this app introduced me to allowing permissions in the manifest (Internet) and making those Arrays of the data and image assets. It was also the first time that I had come across Fragments usefully. I had read about them in Stack Overflow posts but until this time they had remained some mystical far off land to be explored sometime in the future. We were also encouraged to up our game in terms of styling and polish of our app. I was very pleased with this app and I may well go back and add extra venues and categories to make it more complete and useful – once the Covid-19 pandemic is over and people can get out to visit these sorts of places.
When most people think of Nottingham they probably think “Robin Hood” who was probably not a real person but a couple of fun facts; D.H. Lawrence lived and wrote just outside of Nottingham in Eastwood and William Booth founded the Salvation Army in Nottingham and there is a museum to him and the Salvation Army in Nottingham centre. It is in my app just a bit lower on the museums page.
The next project after the score app was to build a quiz app. Given my medical/healthcare background, I decided to produce a Medical Quiz.
The app preparation and creation included plans with drawings, spider grams, lists, pseudocode and a variety of other planning tools before writing any code. Taking those drawings and creating an xml layout (single page) by creating, positioning and styling views then creating interactivity through button clicks and Java code – commenting and documenting the code as you went.
My six question quiz incorporated questions with radio buttons (one choice from four or five possible only), check boxes (as many possible choices as there are questions) which were used when multiple right answers were required and one EditText where the person completing the quiz would type in the correct answer – hopefully. After each question had been answered the submit answers would be pressed. When the “Submit Answers” button was pressed a pop-up message would tell how many points had been achieved with two points awarded for each correct answer, even if there were two or three correct answers per question. If all of the answers were answered correctly, a different pop-up would be seen saying “You have scored a maximum of fourteen points!” The pop-up messages are officially called “toast messages” because they pop-up – neat!
There was a problem; I gave it to my son to play with and he pointed out a problem very quickly – it has to be said that my son was in his late twenties and was already a software coding god! He had earned his living as a senior software developer for several years at that point. He said, “If I fill all of the check boxes, I can get full marks even if I have also checked the wrong answers”. I learned how to put the check boxes for a particular question into a group and then limit how many check boxes were allowed to be checked in that group. Sorting out the scores was largely about a whole load of if(namedButton.isChecked) flow control statements with the instruction to add two points to the variable “score” if it was true (the condition had been met – boolean). I submitted the project and that was the final project for the “Google Developer Challenge” part of my journey. There was a lot of speculation and activity surrounding who would be accepted onto the full Nanodegree scholarship. There had been 20,000 people chosen for the Android Basics Track and only 2,000 would go forward to the next part. They were looking for those who were able to progress with the work but they also stipulated that those most supportive, communicative and active on the various forums that they had provided. I mentioned in an earlier post about the Udacity based forums but there was also two Slack channels; one was a general Udacity Student support channel and the other was a channel for the track that we were on – so I was on the Android Basics channel. There was a lot of support on the various channels from other students, we were encouraged to support other students and there were a few mentors who helped out with queries too. In order to progress, we had to be seen to be active participants – there was a flurry of activity when we neared the end of the challenge.
Fortunately for me, I made the cut and I was invited to continue on to the next phase. There will be more about that next time…
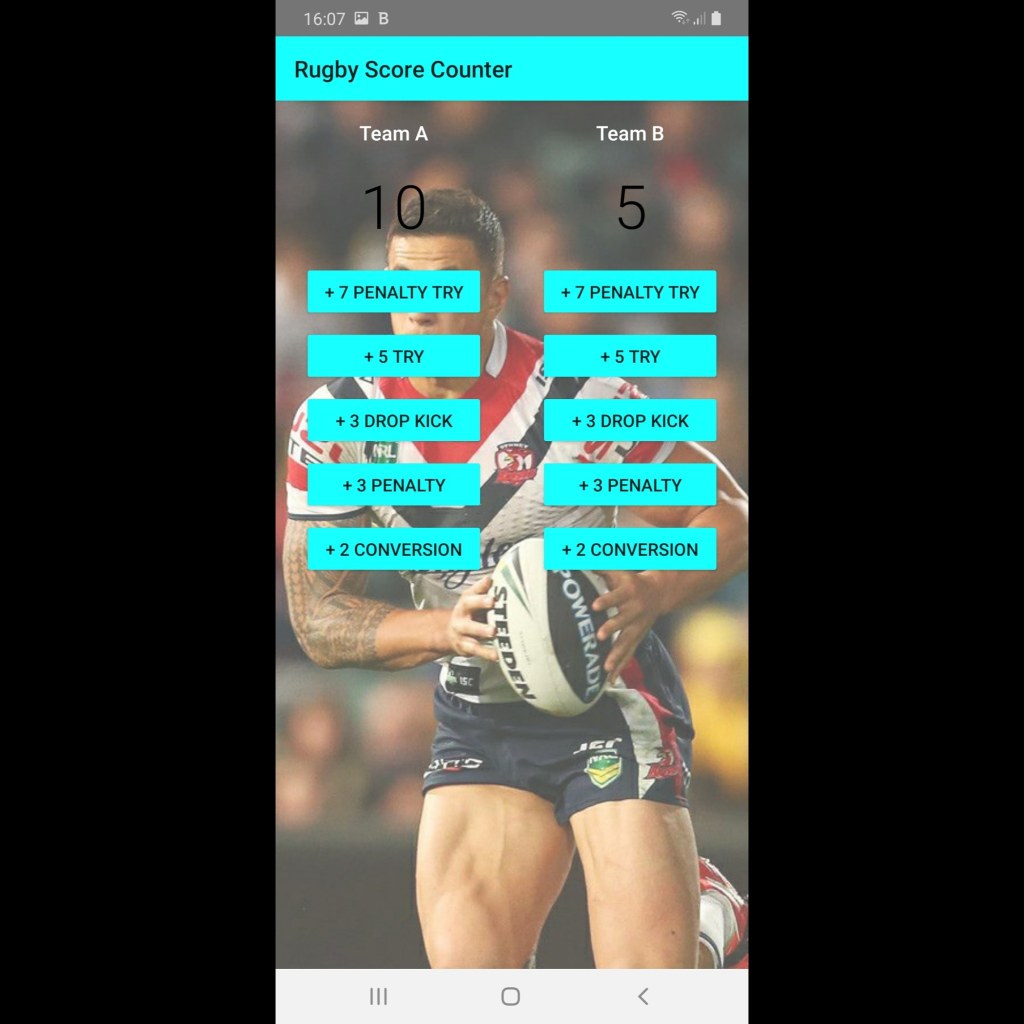
I decided to base my next project on a score app for Rugby Union football using the Court app for guidance. The app has two sets of score buttons, one for Team A and one for Team B. Each set of buttons consists of:
+ 7 for a Penalty Try
+ 5 for a Try
+ 3 for a drop kick
+ 3 for a penalty
+ 2 for a conversion (successful kick between posts following a try being scored.
The Rugby Score Calculator.
This was an exercise about creating buttons as “onClick” events in the xml and then creating click handlers in the Java. Everything seemed to go well until I turned my phone into landscape mode – the scores disappeared. The solution, it turned out, was to create two static variables “SCORE_TEAM_A” and “SCORE_TEAM_B” the capitals to show that they were static when the user user interface refreshed, and to write two pieces of code – one to onSaveInstanceState to save the scores in those static variables and another to onRestoreInstanceState to show the scores in the refreshed page. It seemed to go well after I had got over that little problem so I submitted to the project and moved onto learning how to add other functionality. During the course all of the learners were linked by Udacity message boards with a general chat room and a chat room for each of the projects.
I will entertain you with the next instalment very soon. ‘Bye for now.