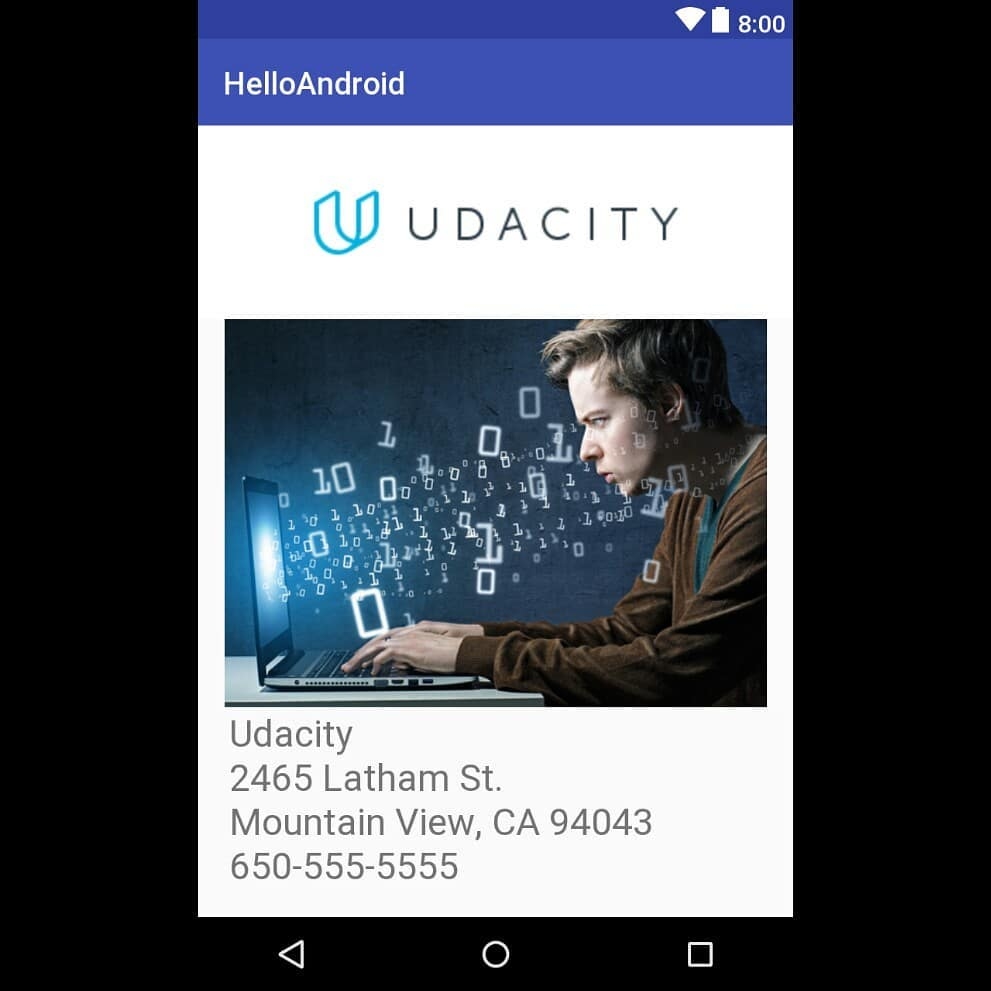
I mentioned in my last post that I had concerns over compatibilty with different devices for my mobile apps, web-apps and websites and I came across a course that was offered by Udemy called Python REST APIs with Flask, Docker, MongoDB and AWS DevOps. It was the Docker bit that interested me the most. I had been having conversations about Docker and how it allows you to build your project into containers – basically, it holds all of the dependencies that you used to build your project on your machine so that the end user will also have them when they come to access them on their machine when they use your project – no matter how their machine is set up. I have played with Python but wanted to know more and I heard lots of terms bandied about but had no understanding of what they meant or did. Job ads will often ask for knowledge of Flask, MongoDB (I knew that it was a database but little else about it). I had heard of AWS (Amazon Web Services) but didn’t know how to access it but it sounded complicatied – they all sounded complicated (they weren’t!).
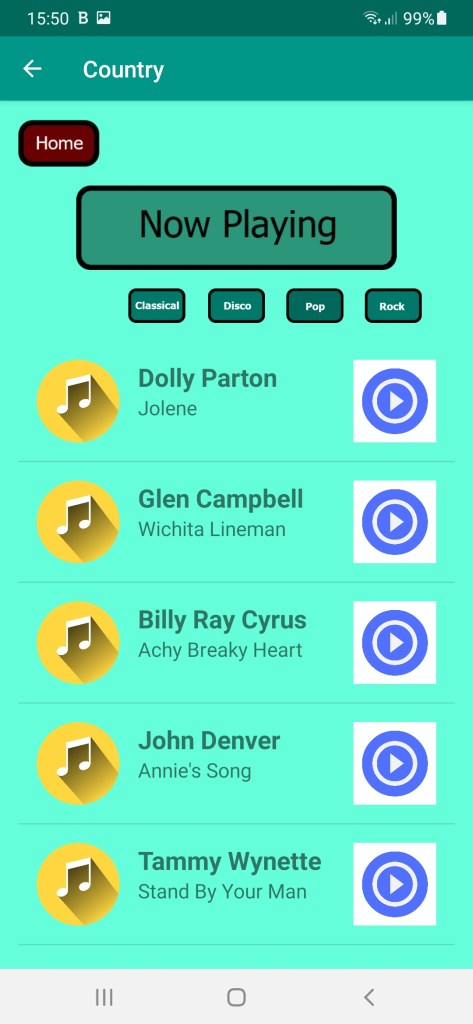
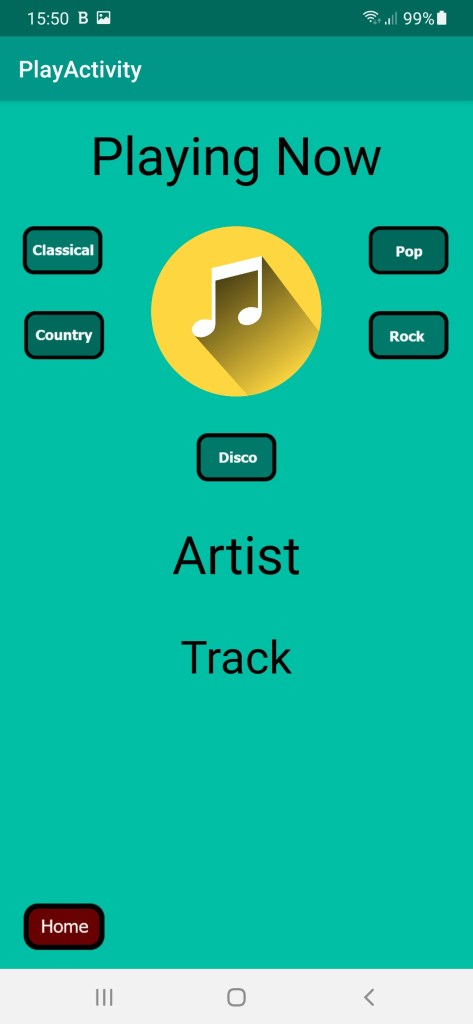
I mentioned last time that I had been trying to get my Medical Emergencies/Resuscitation app published on the Play Store – I still haven’t managed it. One of the problems was incompatibility with a testers mobile phone make/model/Android version – I never did get to the bottom of it and since the app would ultimately have only a niche appeal, I decided to go for lower hanging fruit in the first instance – the medical calculations app is officially on the back burner (I called it lots of different things but I am talking about the same app). This led me to consider “web-apps” and containers (Docker in particular).
I started the course, and to my surprise, I found it easier than I had imagined – most things are, so it is always worth giving it a try but this really did surprise me. The course was well laid out in a logical manner. It wasn’t without it’s frustrations but by the end I had created web servers using Python, created Application Programming Interfaces (APIs), created databases for user registration. The projects included and image recognition API, a simple Banking API and a variety of other basic but useful projects that I can expand on. It was a very interesting course that I would recommend to anyone interested in building NoSQL databases, Web applications and creating and interacting with APIs. I now have Docker accounts, an AWS free account for a year – you don’t get long to do things on your server/cloud before it grinds to a halt but that is all part of the learning process.
I completed the course on the 12th November 2023 and I am going to put it to good use in connection with my HTML, CSS and Javascript stuff as well as my Android/Flutter stuff. I might even start to write simple iOS/Swift apps within which I can embed my projects as web apps. I’ll try to keep you posted…

My certificate!