Privacy Policy
Last updated: April 07, 2023
This Privacy Policy describes Our policies and procedures on the collection, use and disclosure of Your information when You use the Service and tells You about Your privacy rights and how the law protects You.
We use Your Personal data to provide and improve the Service. By using the Service, You agree to the collection and use of information in accordance with this Privacy Policy. This Privacy Policy has been created with the help of the Free Privacy Policy Generator.
Interpretation and Definitions
Interpretation
The words of which the initial letter is capitalized have meanings defined under the following conditions. The following definitions shall have the same meaning regardless of whether they appear in singular or in plural.
Definitions
For the purposes of this Privacy Policy:
Account means a unique account created for You to access our Service or parts of our Service.
Affiliate means an entity that controls, is controlled by or is under common control with a party, where “control” means ownership of 50% or more of the shares, equity interest or other securities entitled to vote for election of directors or other managing authority.
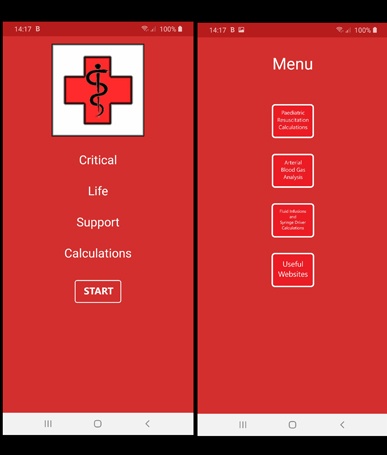
Application refers to Child Medical Calculations, the software program provided by the Company.
Company (referred to as either “the Company”, “We”, “Us” or “Our” in this Agreement) refers to Child Medical Calculations.
Country refers to: United Kingdom
Device means any device that can access the Service such as a computer, a cellphone or a digital tablet.
Personal Data is any information that relates to an identified or identifiable individual.
Service refers to the Application.
Service Provider means any natural or legal person who processes the data on behalf of the Company. It refers to third-party companies or individuals employed by the Company to facilitate the Service, to provide the Service on behalf of the Company, to perform services related to the Service or to assist the Company in analyzing how the Service is used.
Usage Data refers to data collected automatically, either generated by the use of the Service or from the Service infrastructure itself (for example, the duration of a page visit).
You means the individual accessing or using the Service, or the company, or other legal entity on behalf of which such individual is accessing or using the Service, as applicable.
Collecting and Using Your Personal Data
Types of Data Collected
Personal Data
While using Our Service, We may ask You to provide Us with certain personally identifiable information that can be used to contact or identify You. Personally identifiable information may include, but is not limited to:
Usage Data
Usage Data is collected automatically when using the Service.
Usage Data may include information such as Your Device’s Internet Protocol address (e.g. IP address), browser type, browser version, the pages of our Service that You visit, the time and date of Your visit, the time spent on those pages, unique device identifiers and other diagnostic data.
When You access the Service by or through a mobile device, We may collect certain information automatically, including, but not limited to, the type of mobile device You use, Your mobile device unique ID, the IP address of Your mobile device, Your mobile operating system, the type of mobile Internet browser You use, unique device identifiers and other diagnostic data.
We may also collect information that Your browser sends whenever You visit our Service or when You access the Service by or through a mobile device.
Use of Your Personal Data
The Company may use Personal Data for the following purposes:
To provide and maintain our Service, including to monitor the usage of our Service.
To manage Your Account: to manage Your registration as a user of the Service. The Personal Data You provide can give You access to different functionalities of the Service that are available to You as a registered user.
For the performance of a contract: the development, compliance and undertaking of the purchase contract for the products, items or services You have purchased or of any other contract with Us through the Service.
To contact You: To contact You by email, telephone calls, SMS, or other equivalent forms of electronic communication, such as a mobile application’s push notifications regarding updates or informative communications related to the functionalities, products or contracted services, including the security updates, when necessary or reasonable for their implementation.
To provide You with news, special offers and general information about other goods, services and events which we offer that are similar to those that you have already purchased or enquired about unless You have opted not to receive such information.
To manage Your requests: To attend and manage Your requests to Us.
For business transfers: We may use Your information to evaluate or conduct a merger, divestiture, restructuring, reorganization, dissolution, or other sale or transfer of some or all of Our assets, whether as a going concern or as part of bankruptcy, liquidation, or similar proceeding, in which Personal Data held by Us about our Service users is among the assets transferred.
For other purposes: We may use Your information for other purposes, such as data analysis, identifying usage trends, determining the effectiveness of our promotional campaigns and to evaluate and improve our Service, products, services, marketing and your experience.
We may share Your personal information in the following situations:
- With Service Providers: We may share Your personal information with Service Providers to monitor and analyze the use of our Service, to contact You.
- For business transfers: We may share or transfer Your personal information in connection with, or during negotiations of, any merger, sale of Company assets, financing, or acquisition of all or a portion of Our business to another company.
- With Affiliates: We may share Your information with Our affiliates, in which case we will require those affiliates to honor this Privacy Policy. Affiliates include Our parent company and any other subsidiaries, joint venture partners or other companies that We control or that are under common control with Us.
- With business partners: We may share Your information with Our business partners to offer You certain products, services or promotions.
- With other users: when You share personal information or otherwise interact in the public areas with other users, such information may be viewed by all users and may be publicly distributed outside.
- With Your consent: We may disclose Your personal information for any other purpose with Your consent.
Retention of Your Personal Data
The Company will retain Your Personal Data only for as long as is necessary for the purposes set out in this Privacy Policy. We will retain and use Your Personal Data to the extent necessary to comply with our legal obligations (for example, if we are required to retain your data to comply with applicable laws), resolve disputes, and enforce our legal agreements and policies.
The Company will also retain Usage Data for internal analysis purposes. Usage Data is generally retained for a shorter period of time, except when this data is used to strengthen the security or to improve the functionality of Our Service, or We are legally obligated to retain this data for longer time periods.
Transfer of Your Personal Data
Your information, including Personal Data, is processed at the Company’s operating offices and in any other places where the parties involved in the processing are located. It means that this information may be transferred to — and maintained on — computers located outside of Your state, province, country or other governmental jurisdiction where the data protection laws may differ than those from Your jurisdiction.
Your consent to this Privacy Policy followed by Your submission of such information represents Your agreement to that transfer.
The Company will take all steps reasonably necessary to ensure that Your data is treated securely and in accordance with this Privacy Policy and no transfer of Your Personal Data will take place to an organization or a country unless there are adequate controls in place including the security of Your data and other personal information.
Delete Your Personal Data
You have the right to delete or request that We assist in deleting the Personal Data that We have collected about You.
Our Service may give You the ability to delete certain information about You from within the Service.
You may update, amend, or delete Your information at any time by signing in to Your Account, if you have one, and visiting the account settings section that allows you to manage Your personal information. You may also contact Us to request access to, correct, or delete any personal information that You have provided to Us.
Please note, however, that We may need to retain certain information when we have a legal obligation or lawful basis to do so.
Disclosure of Your Personal Data
Business Transactions
If the Company is involved in a merger, acquisition or asset sale, Your Personal Data may be transferred. We will provide notice before Your Personal Data is transferred and becomes subject to a different Privacy Policy.
Law enforcement
Under certain circumstances, the Company may be required to disclose Your Personal Data if required to do so by law or in response to valid requests by public authorities (e.g. a court or a government agency).
Other legal requirements
The Company may disclose Your Personal Data in the good faith belief that such action is necessary to:
- Comply with a legal obligation
- Protect and defend the rights or property of the Company
- Prevent or investigate possible wrongdoing in connection with the Service
- Protect the personal safety of Users of the Service or the public
- Protect against legal liability
Security of Your Personal Data
The security of Your Personal Data is important to Us, but remember that no method of transmission over the Internet, or method of electronic storage is 100% secure. While We strive to use commercially acceptable means to protect Your Personal Data, We cannot guarantee its absolute security.
Children’s Privacy
Our Service does not address anyone under the age of 13. We do not knowingly collect personally identifiable information from anyone under the age of 13. If You are a parent or guardian and You are aware that Your child has provided Us with Personal Data, please contact Us. If We become aware that We have collected Personal Data from anyone under the age of 13 without verification of parental consent, We take steps to remove that information from Our servers.
If We need to rely on consent as a legal basis for processing Your information and Your country requires consent from a parent, We may require Your parent’s consent before We collect and use that information.
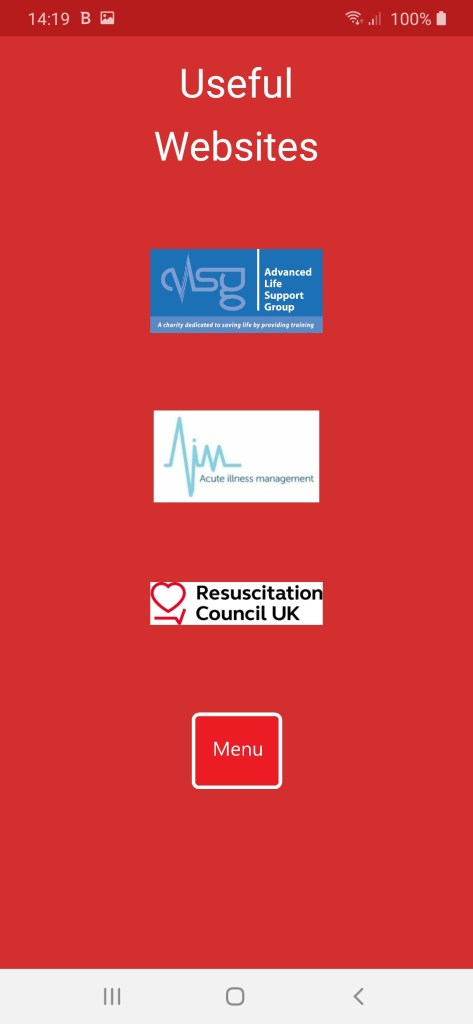
Links to Other Websites
Our Service may contain links to other websites that are not operated by Us. If You click on a third party link, You will be directed to that third party’s site. We strongly advise You to review the Privacy Policy of every site You visit.
We have no control over and assume no responsibility for the content, privacy policies or practices of any third party sites or services.
Changes to this Privacy Policy
We may update Our Privacy Policy from time to time. We will notify You of any changes by posting the new Privacy Policy on this page.
We will let You know via email and/or a prominent notice on Our Service, prior to the change becoming effective and update the “Last updated” date at the top of this Privacy Policy.
You are advised to review this Privacy Policy periodically for any changes. Changes to this Privacy Policy are effective when they are posted on this page.
Contact Us
If you have any questions about this Privacy Policy, You can contact us:
- By email: cullendeveloper@gmail.com